Men’s shirt customizer
Do you know how to represent 12 shirt fashions with 80+ fabrics and multiple interchangeable parts? Let me show you my implementation of a customizable men’s shirt.
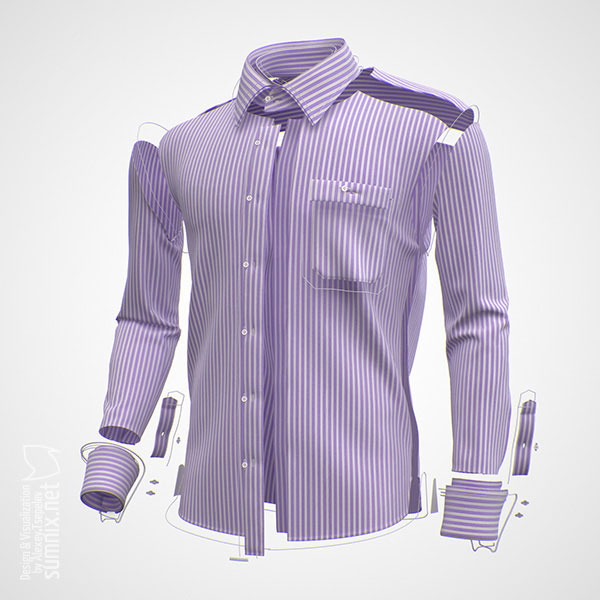
In introduction, one company made a good website with an easy-to-pick-the-right-shirt design and presentable 3D model of a business men’s shirt. I liked everything: stitches, real-looking bends and, of course, all the materials. Other manufacturers began to cry outloud “We want that, too!” So it became a whole new industry project for me, making a customizable men’s shirt for the Richard Hampton.
I began to learn how to simulate the real-world physics of cloth and how to correctly keep all the UV-maps. 3ds Max is great for such a modeling using Splines and Garment Maker, but not when you have no final fashion at all and you have to change every detail almost interactively. And yes, initial data were scarce: I had had only photographs of fabrics, a few sketches how these shirts should look like and a great will to complete the project.
Therefore I blindly took Marvelous Designer (MD) knowing nothing about its strengths. And that was my lucky guess, true. As I understood much later this is also a great tool for drapery used in interior visualization (pillows, curtains, bed covering) as well as any flexible structures. Pins, seams, stretch coefficients, buckling ratio work as a charm.
Step by step, I created four of the models as a base and, when the client was pleased, I started to simulate the details, editing the final mesh and making all modifiers instanced. Workflow was rather simple: modeling in MD → exporting/importing → grouping by layers with NLM in 3ds Max → editing/texturing using my ScreenOffset script → final rendering of all queues using backburner → postprocessing using Photoshop scripts I wrote for this project. And it is all in the loop.
I know it sounds like “How to draw an owl”, but I can not help it.
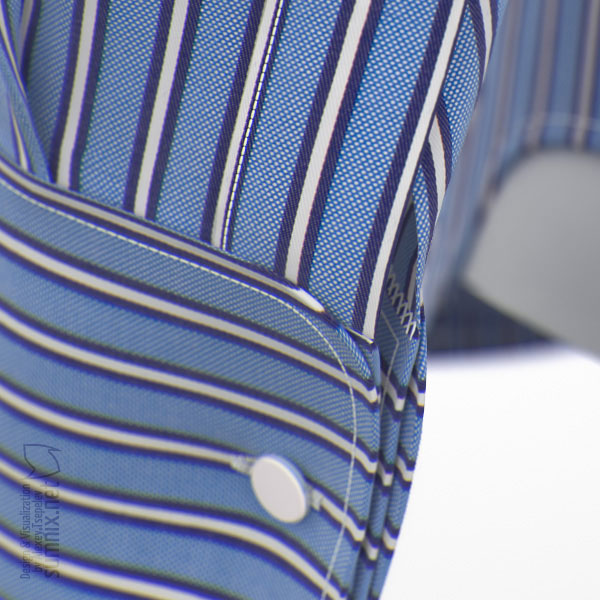
Cuffs
This part I liked the most. There were 10 types of cuff: 3 french ones with links, 6 of italian type with buttons and a turnback one, so called Cocktail Cuff. Cuff camera view with 100%-crop on hover:
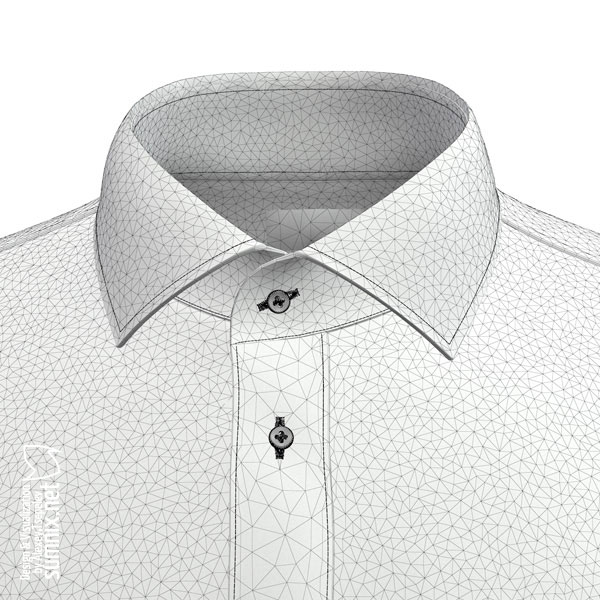
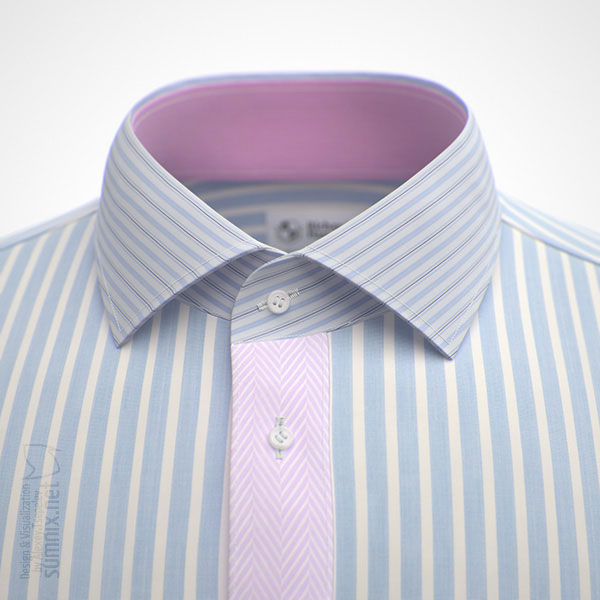
Collars
There were 8 types of collar including classic, one for a bow tie, english, french and so on. I have made them double-layered with little bump along the edge to bring the internal seam out. You can see below the internal stand-up part is made as a standalone element, which means the customer could order the shirt with a collar in different colors. Collar camera with wireframe on hover:
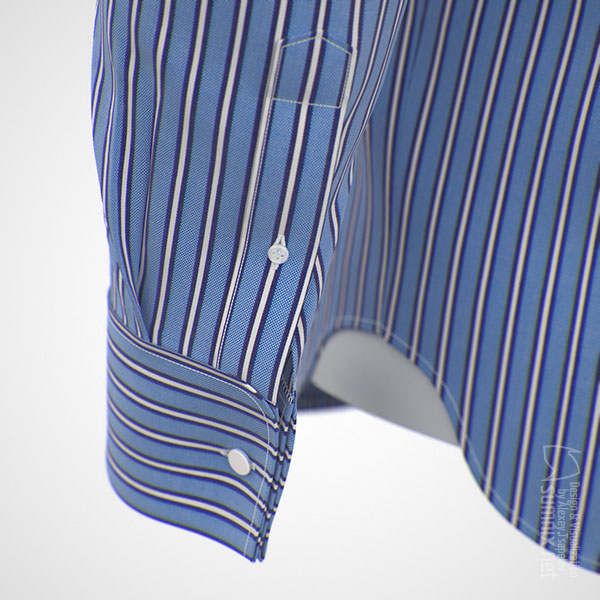
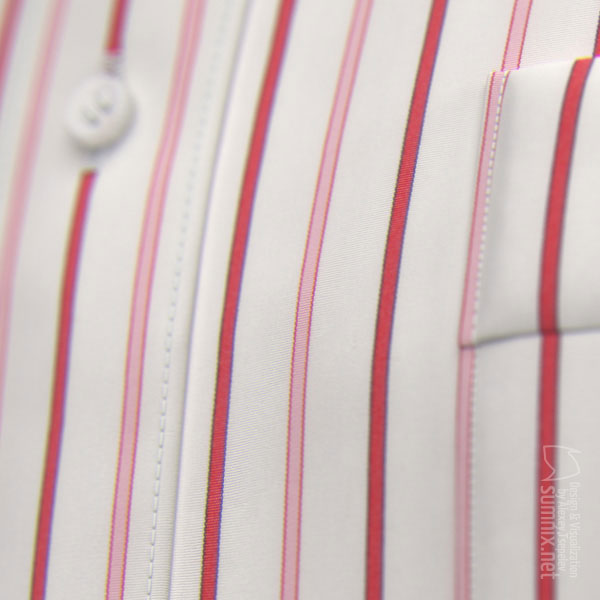
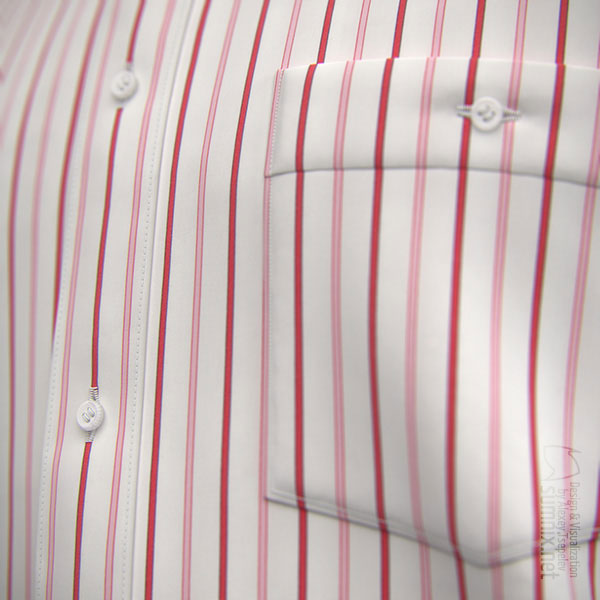
Pockets
4 pocket shapes with or without a button. 3 types of placket made me realign the UV-coordinates of all fabrics, because the stripes had to look the same and go directly through the buttonhole, tricky. Pocket camera view with 100%-crop on hover:
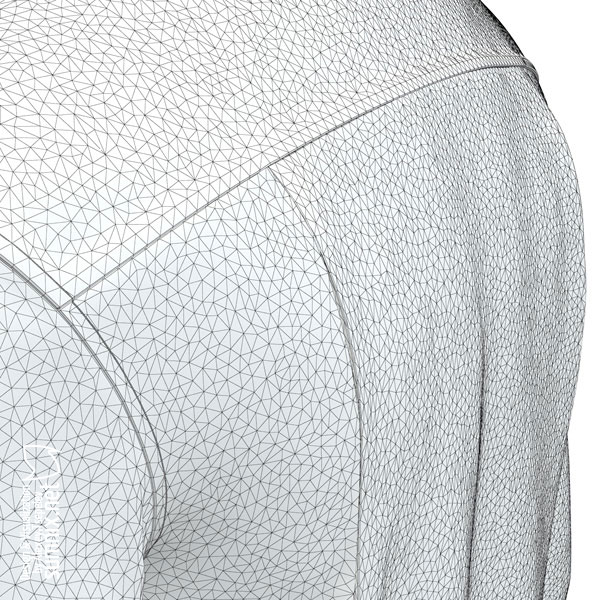
Back
3 types of fold on the back. Back camera shows an example of two folds on each side plus their wireframe on hover:
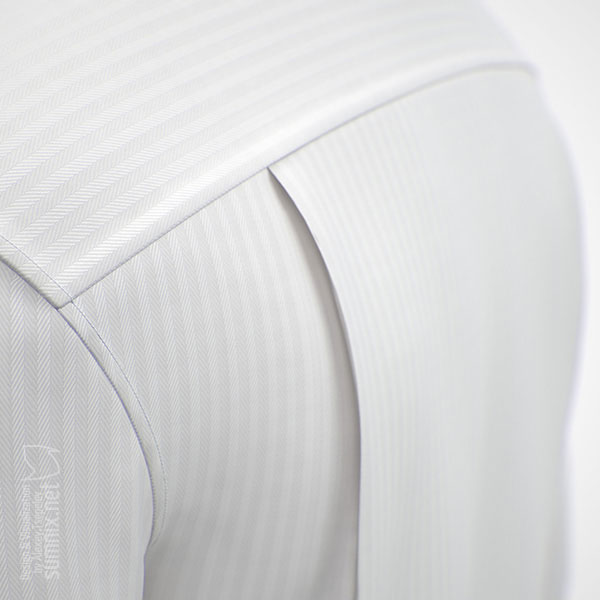
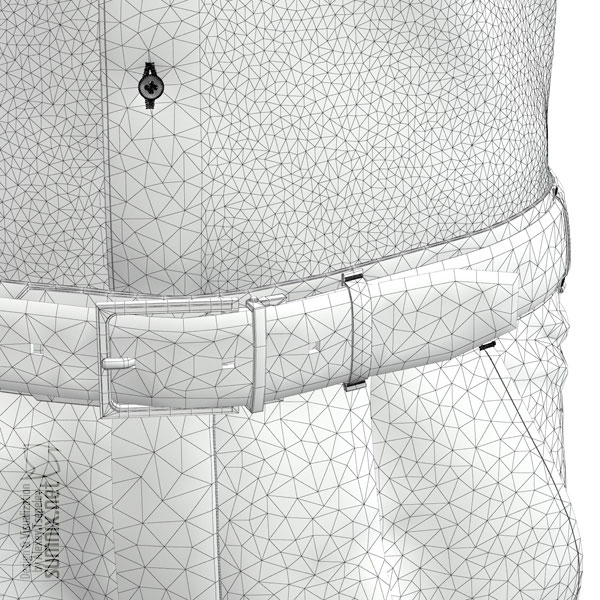
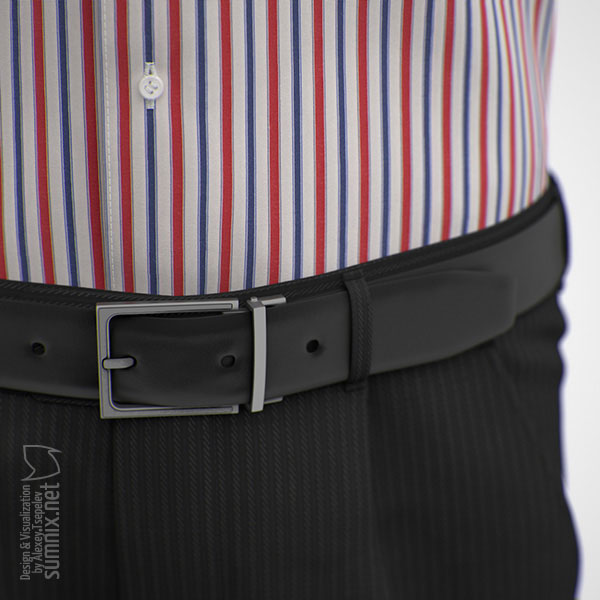
Measurement
I have also made some models with measuring tape: with shirt tucked into belted trousers, with different poses to show the customer how to measure his neck, wrist and so on. Belt camera view plus wireframe on hover:
As a result, I have rendered 5 large sets on the first stage: one for the general view of the shirt and four others for zoom cameras (4726 and 3544 details accordingly).
I know some parts could be better, there is a lot of things to be redone. I still do not like the way the thread lines work with cloth: no pressure, no clamping, no small curvatures so difficult to repeat. Why the heck you, the real world, are so complex?
That is all. Another project of mine. Now I hate all the shirts in real life, joking, and know how to make them. Thanks for reading.
UPDATE 2016
Here’s a video I rendered recently: